Lightweight photo backup for travel photographers

Travel photography doesn’t have to be a heavy burden… said who, a girl with 3-kilos camera dangling from her hip? Well, at least travel photography doesn’t have to be heavier than it already is. That’s why I want to share a backup solution that is lightweight, sturdy, comparably cheap, and lets you browse and edit photos from your camera memory card with your phone only, without using a laptop. I will also show how to speed up the copying process during the long trip.
I don’t receive any sponsorship from the products listed below. It took quite a lot of time to find the best backup for my needs, I paid my own money to buy it, and I want to share it because it brought me a great peace of mind in travel.

Photos from Torres del Paine national park, Chile, 2020. Travels like this happen once in a lifetime. It would be a great shame to lose this pictures.
Why do you need a backup
I didn’t use any backup in my previous travels, because I was sure that it can be only my laptop, and I don’t need to tell you that laptops are too heavy and don’t survive well in hiking and camping expeditions. I haven’t had any problems with CF cards before and was pretty much sure of my camera safety. I have to admit it was silly, because a card can become corrupted without any previous warning, and camera can get stolen or lost any time at any place.
This time I was preparing for 7 weeks in travel, which meant a possibility to loose more than a month’s work if something goes wrong. Besides, I wasn’t even sure if two of my 256 GB cards are enough for the whole trip (they weren’t). So I started to search for a backup lightweight and sturdy enough to use in a hike. It would be a huge advantage if it allows me to browse and edit the photos using my phone.

Ever used your camera as a cosmetics holder in an outdoor restaurant? This setup screams for a proper backup :)

This could have been the last picture taken by me with my camera. Shot seconds before the unsuccessful armed robbery attempt in Quito, Ecuador, in 2011. Only luck and draconian security measures helped my camera to survive for two month of that travel in South America.
The lightweight option that doesn’t cost a fortune
Taking the laptop to a hiking trip is not an option: my backpack is already heavy with camping gear and freeze dried food; besides, all the dust and humidity of great outdoors might kill the fragile office tool. I need an external solid-state drive (SSD) to keep my pictures safe and work with them fast, with the capacity no less than 1 TB.
After a couple of hours reading photographers’ blogs and gadget reviews I found a wireless backup WD My Passport SSD designed especially for photographers and videographers, which copies all the new photos from a memory card and even connects to your phone by wifi, so you can see and use the photos on the backup. This is the progress for you! But something stopped me to buy that fancy device. Maybe 500 g weight, maybe the high price, maybe the small power bank capacity. I needed a lighter and cheaper option...
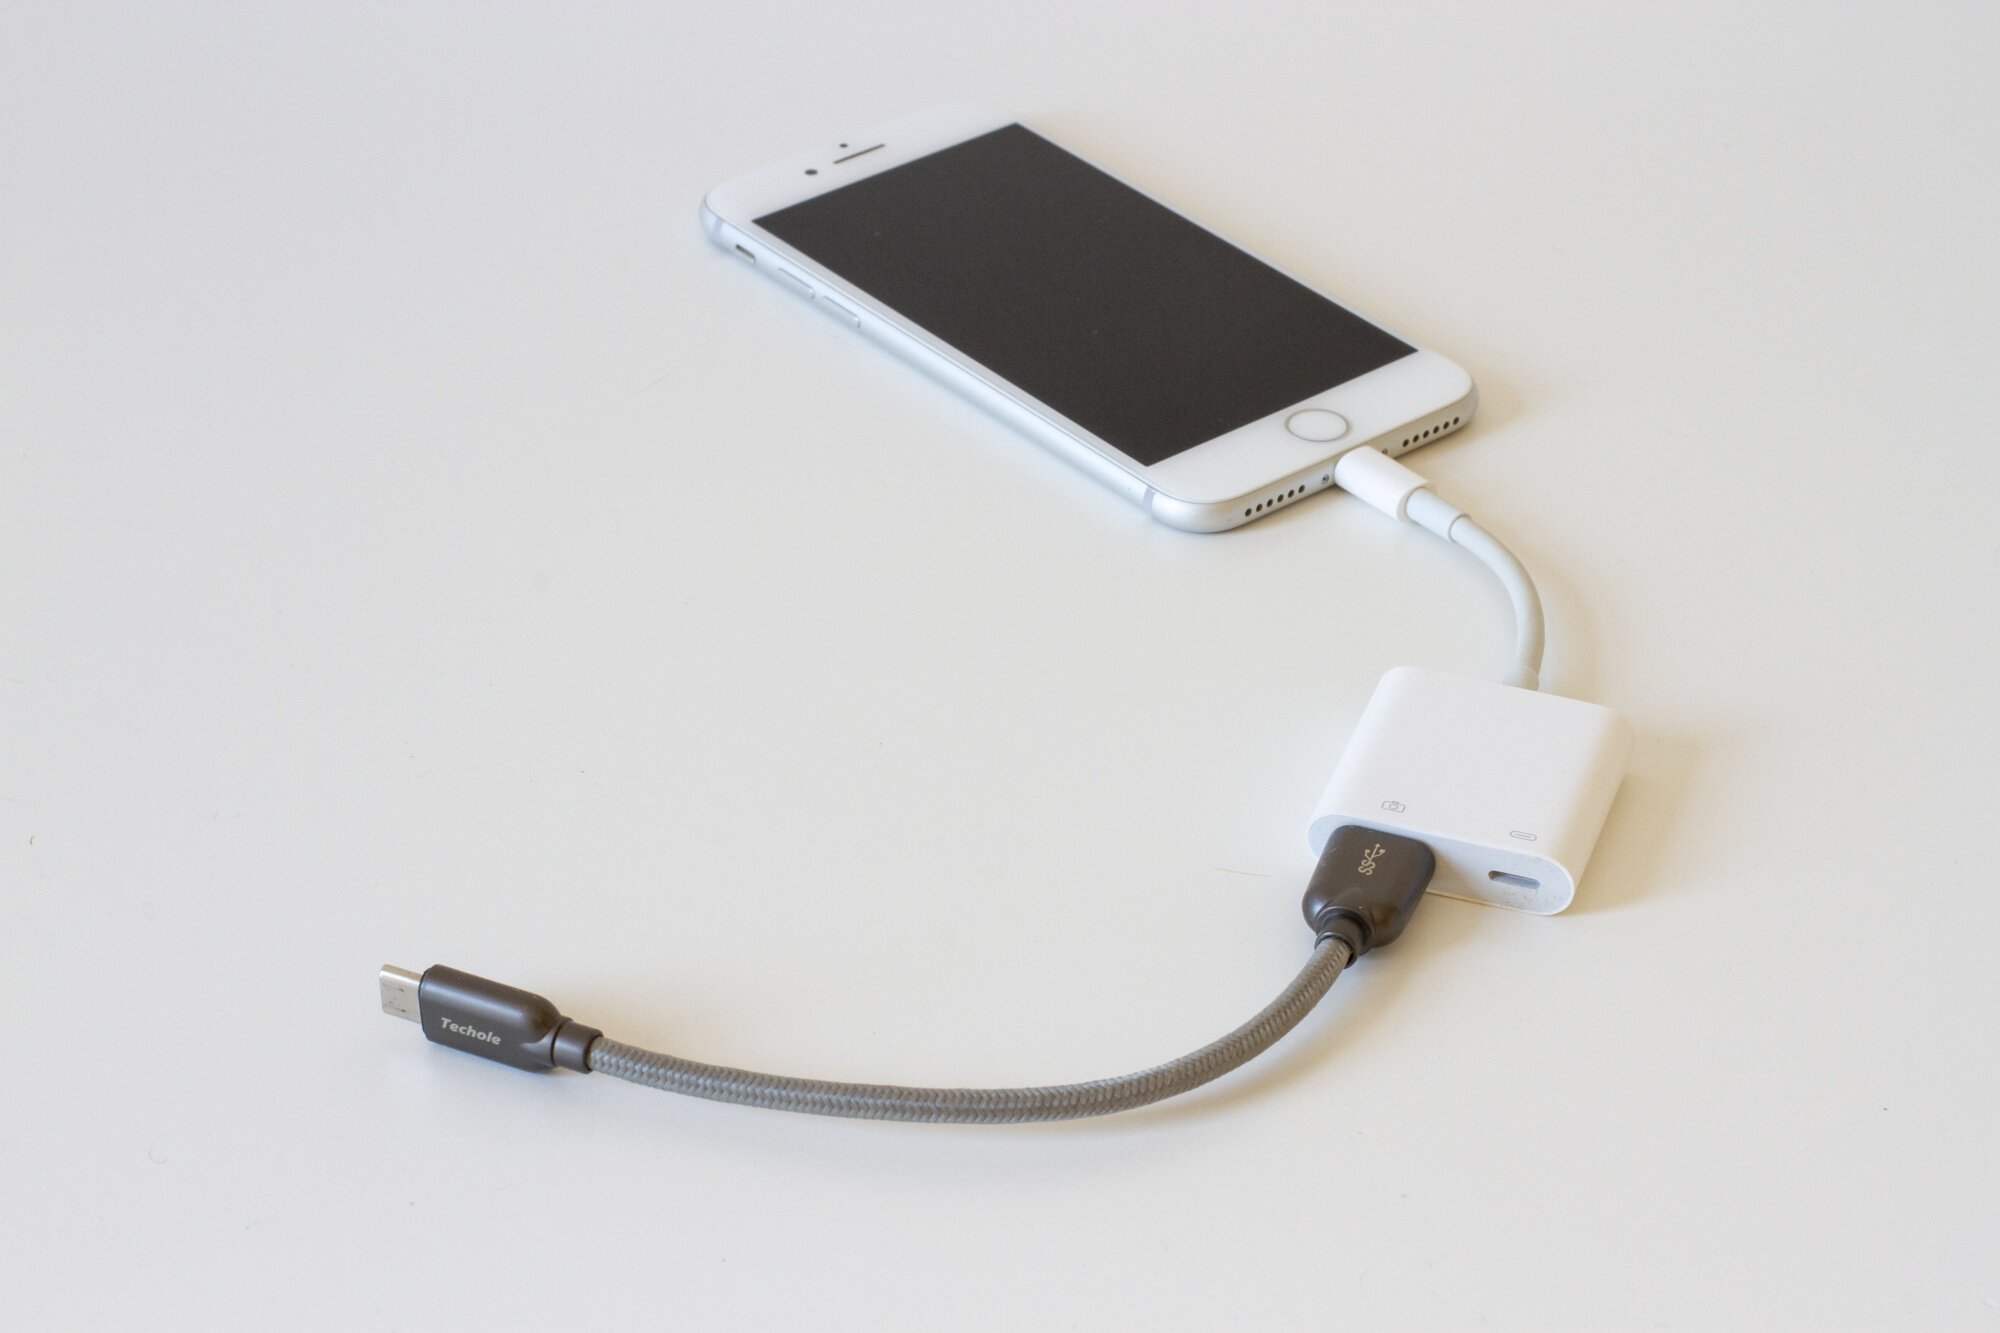
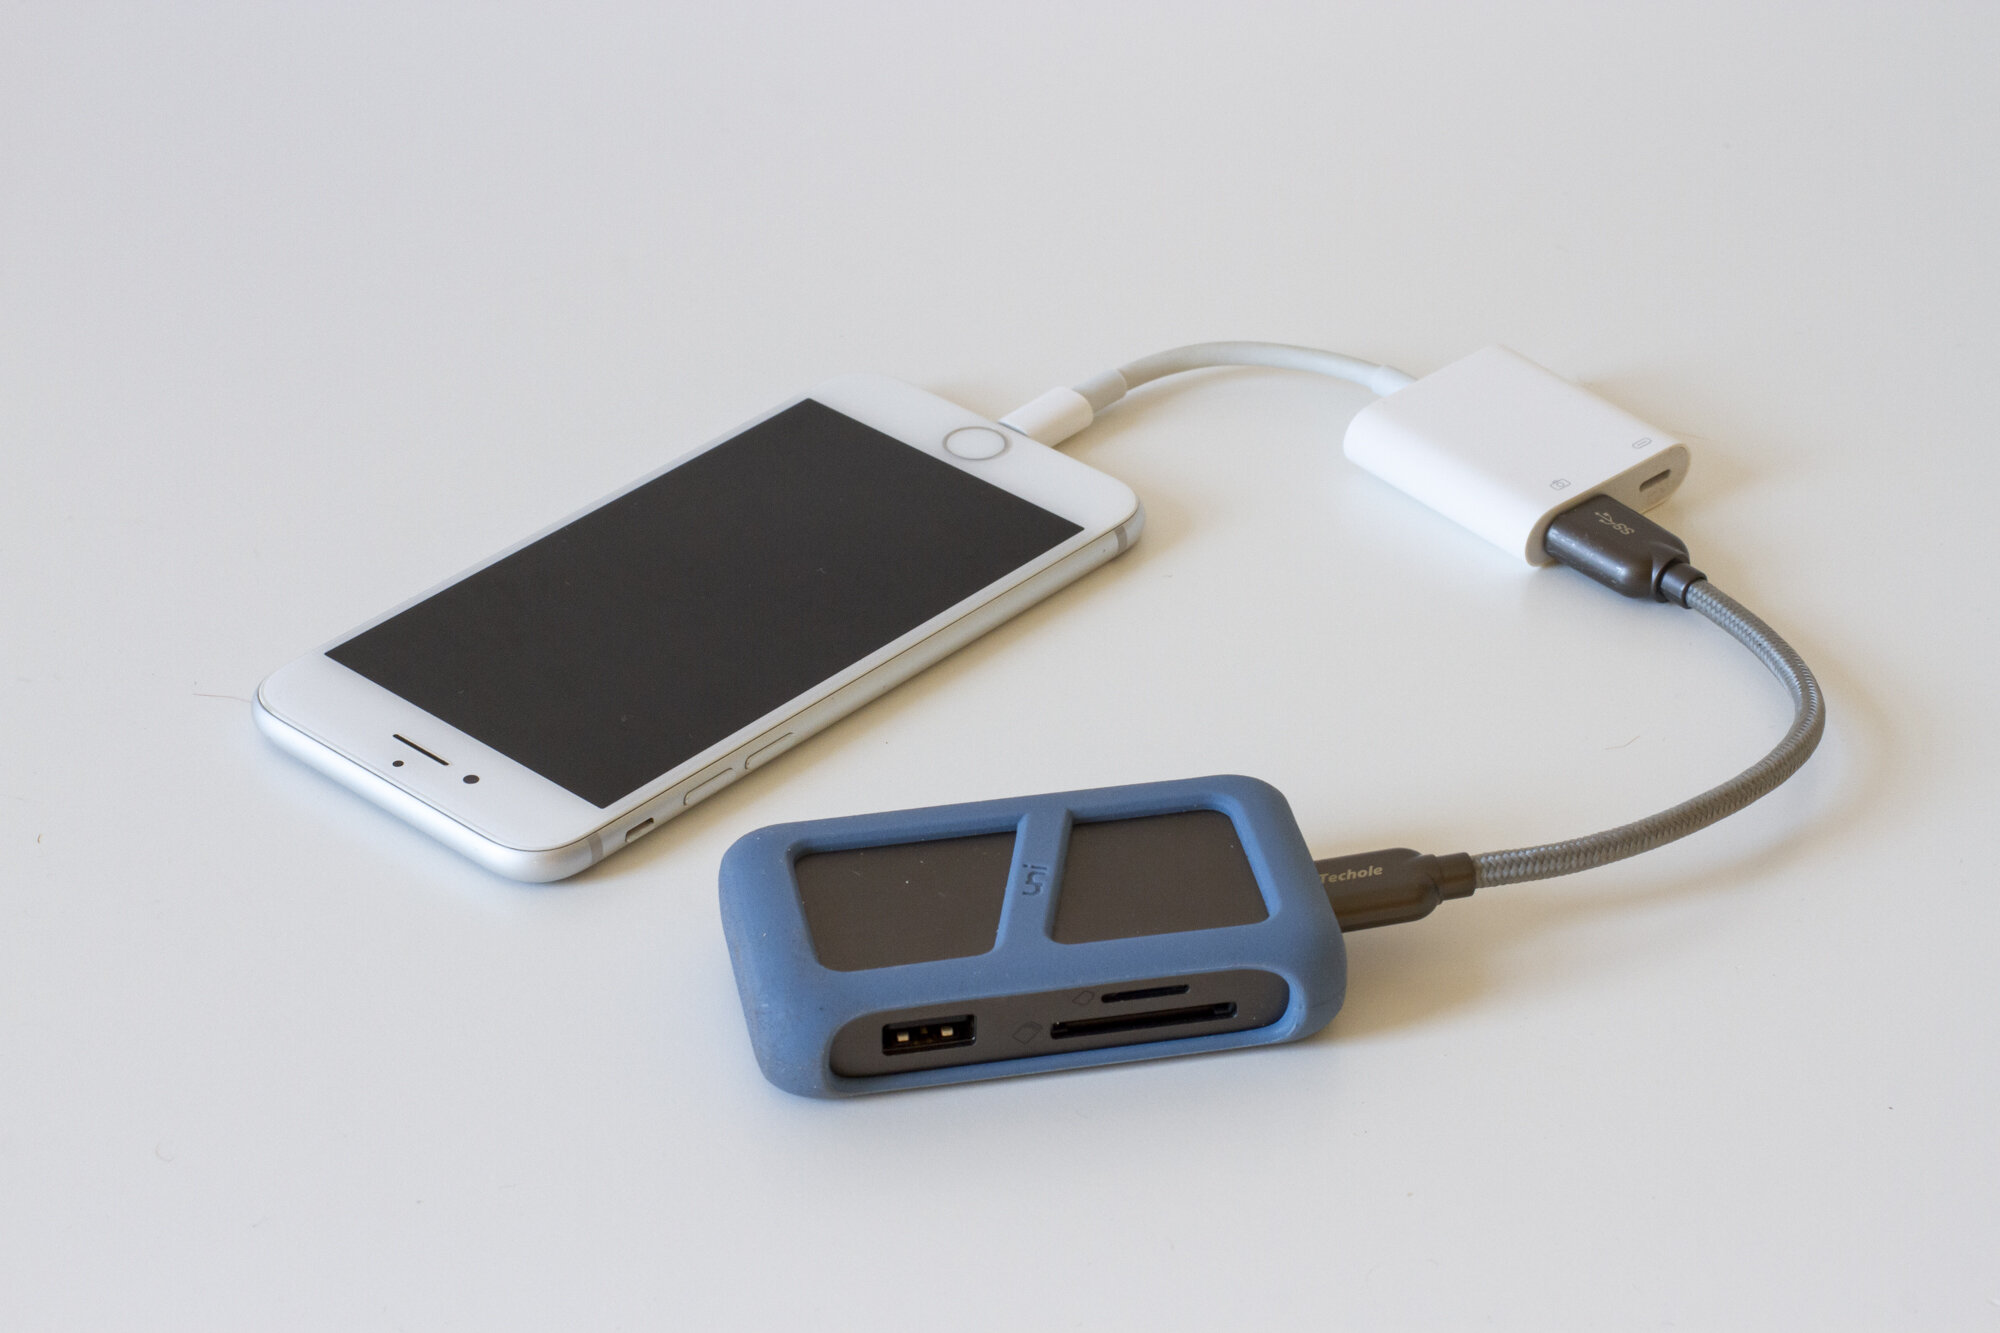
I continued my search and found a polar explorer Aaron, who explains how to back up a camera card with a tiny Sandisk hard drive and an iPhone without laptop. This was exactly what I needed! Sandisk SSD weights 36 g (it is lighter than my toothbrush) and is almost twice cheaper than WD drive. The decision was made. At first I thought myself smarter than Aaron and bought cheaper USB hub and just a cable from iPhone lightning to USB C. It didn’t work, so I returned everything back and bought exactly what he says: uni USB C hub, lightning to USB 3 adapter, and USB 3 to USB C cables. It worked like a charm. If you have SD or micro SD card in your camera, you don’t even need a card reader, there are slots in Uni USB hub for these memory cards. I shot in RAW+JPEG format at first, but seeing that iOS doesn’t have any problem recognising RAW files, I dropped JPEG and used only RAW to save space.
As a power bank I used Anker PowerCore 20100, which has enormous 20 000 mAh capacity, though it is more on the heavy side with its 331 g weight. This power bank could charge two phones and provide energy for daily backups from CF card for five days on our hikes in Patagonia, and it certainly could last more than that. This capacity may be an overkill for a two-three days hike, but it is a must have for a longer expedition. I was considering leaving out a power bank altogether and using our solar panel instead, but it weights more than 500 g and accumulates energy too slowly to use it as a substitute. For comparison, the wireless WD drive has three times less capacity at 6 700 mAh, so even if it lasted five days, I’d have to carry a small power bank to charge my phone anyway.
Now I don’t know how I could live without this freaky backup system. Not only it keeps my mind at peace, it also helps to transfer photos straight to Lightroom app that I’ve installed on my iPhone. So I don’t need to wait until I come home to edit and post the photos.

This constant fight between the lighter backpack and the better pictures…

Copying the daily photos in our tent while the dinner gets ready outside
How to back up your CF card to SSD disk
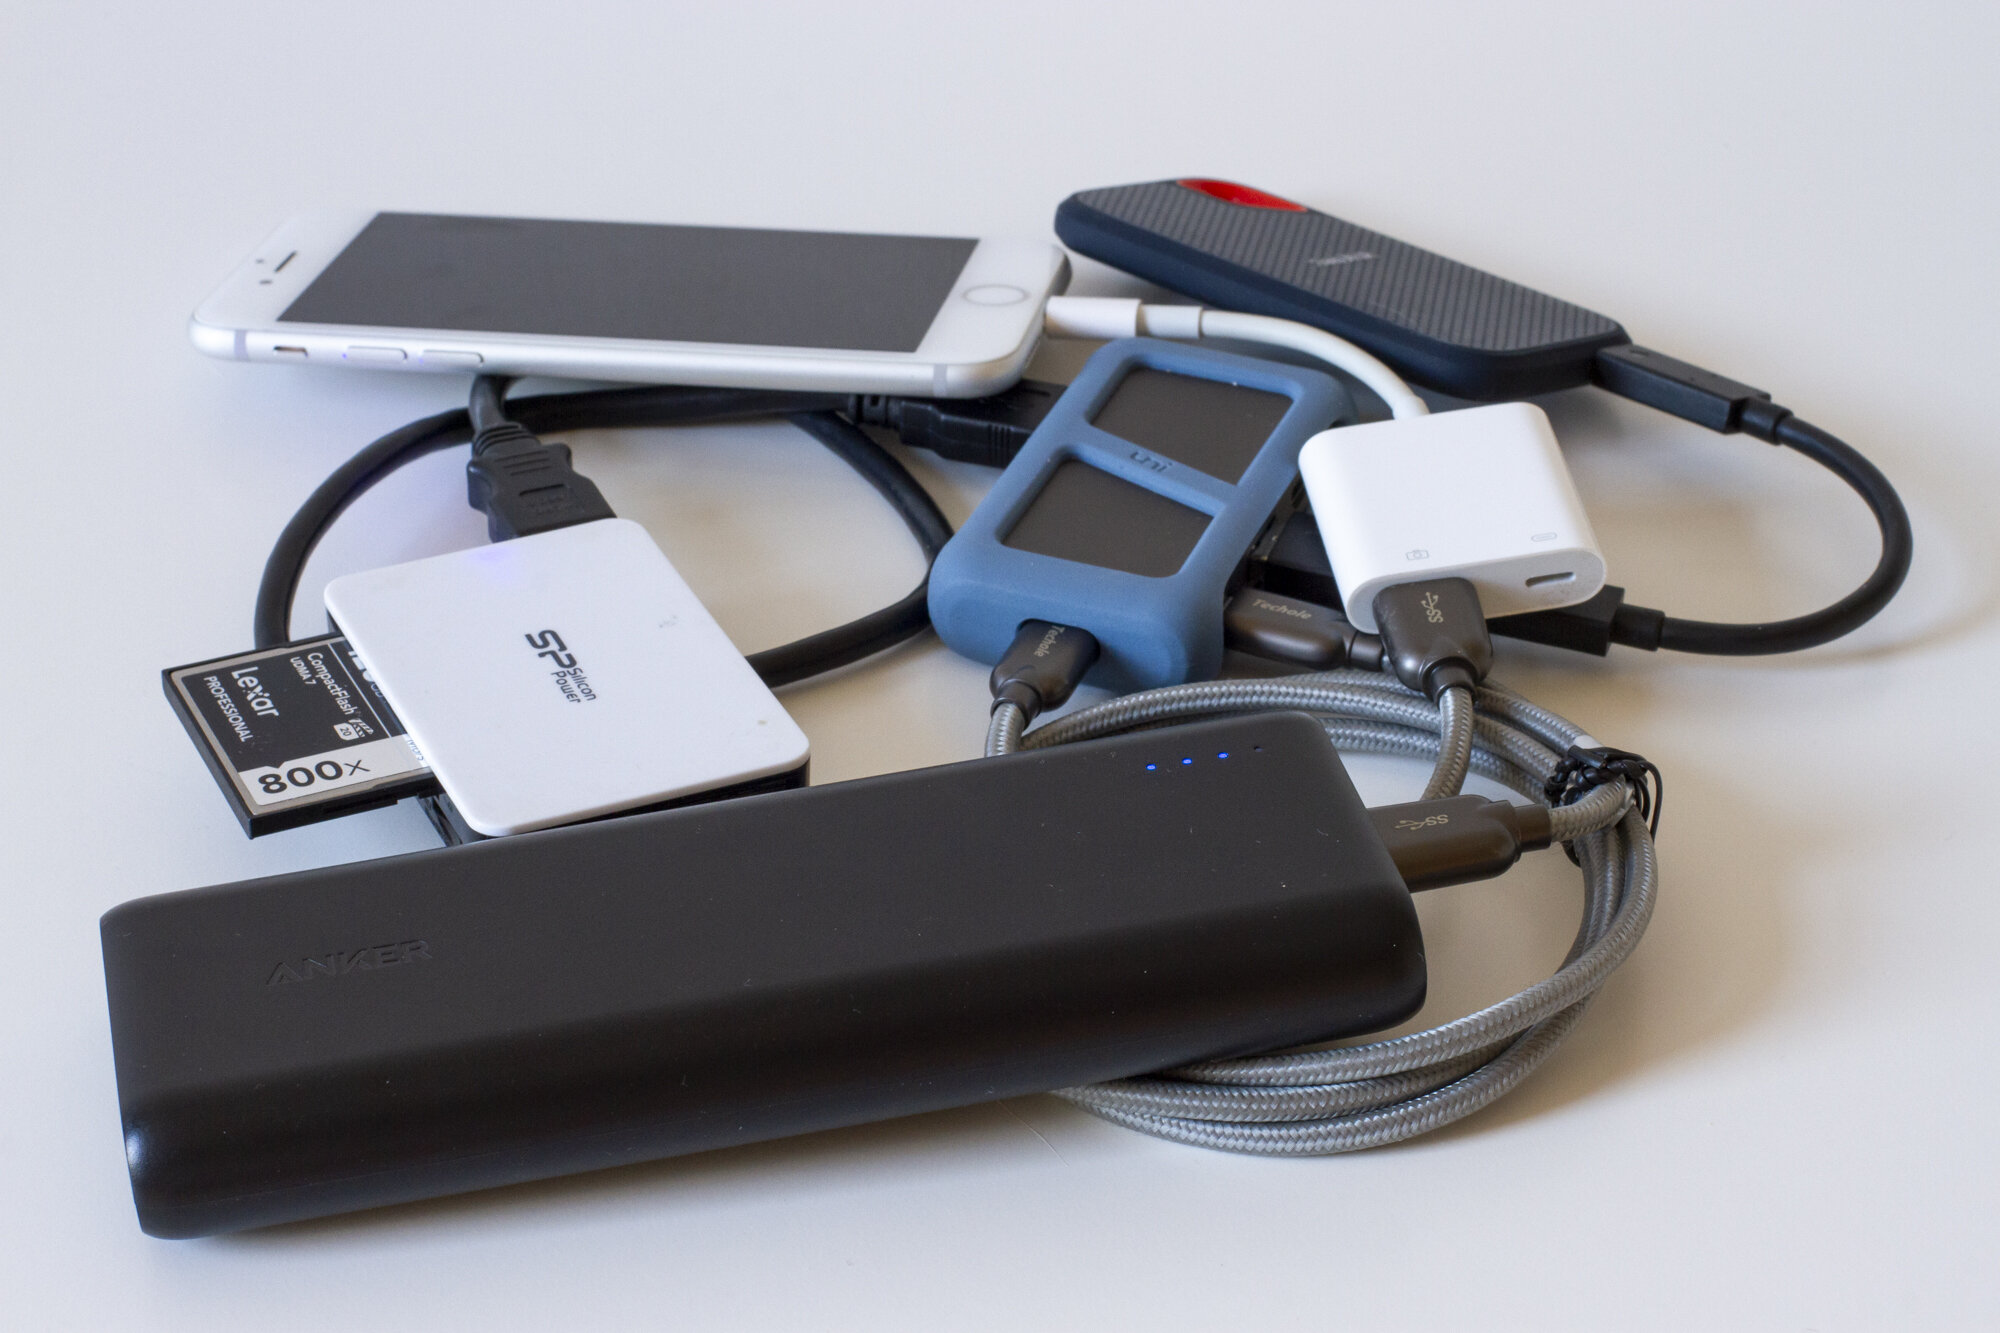
Here are all the devices you need. Click on a picture to open the Amazon page for each of the items.
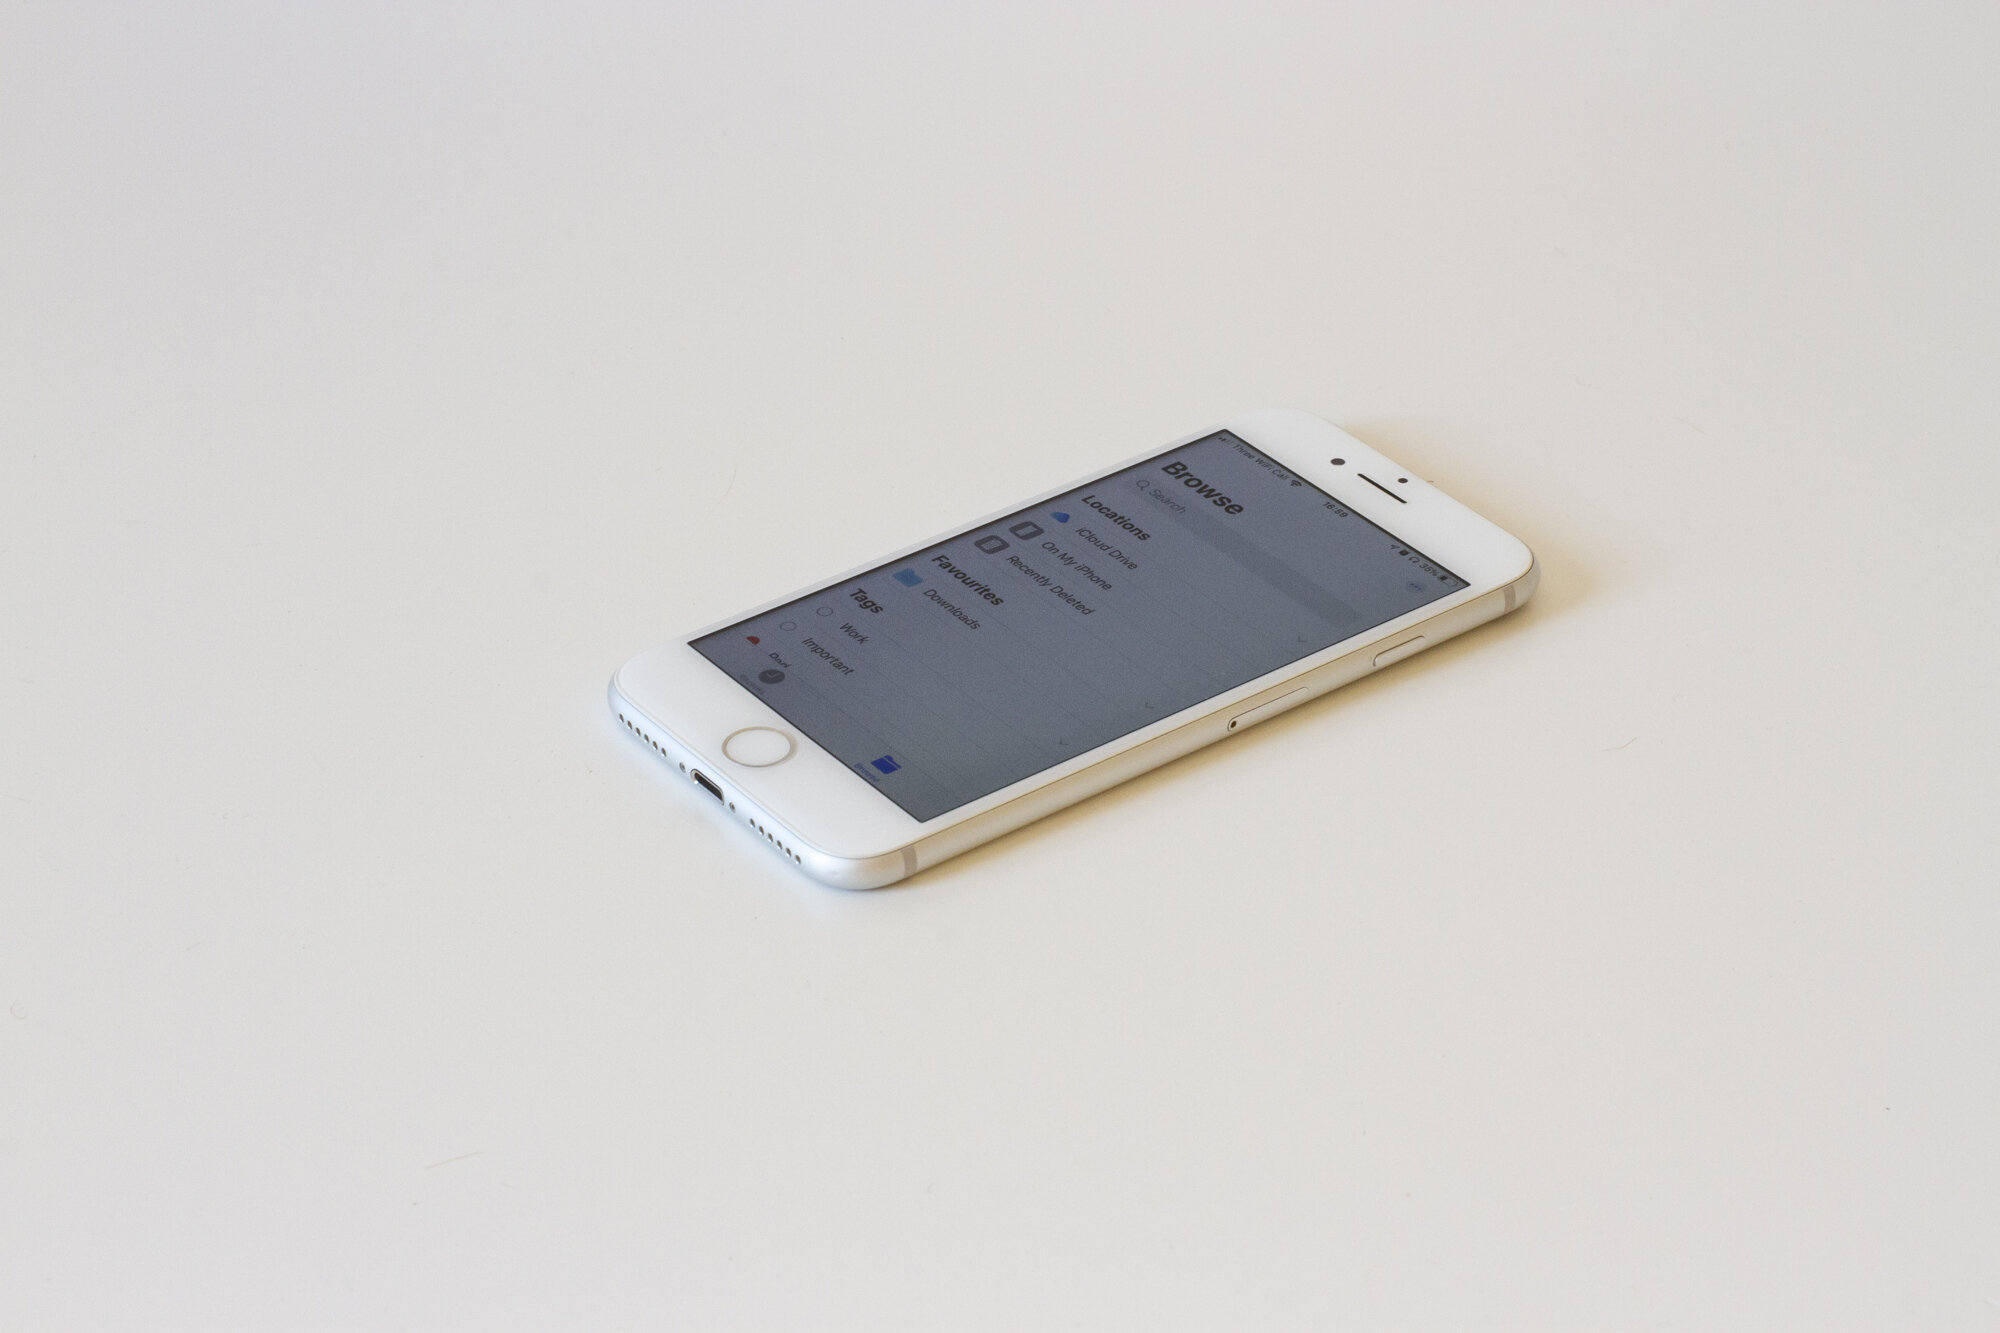
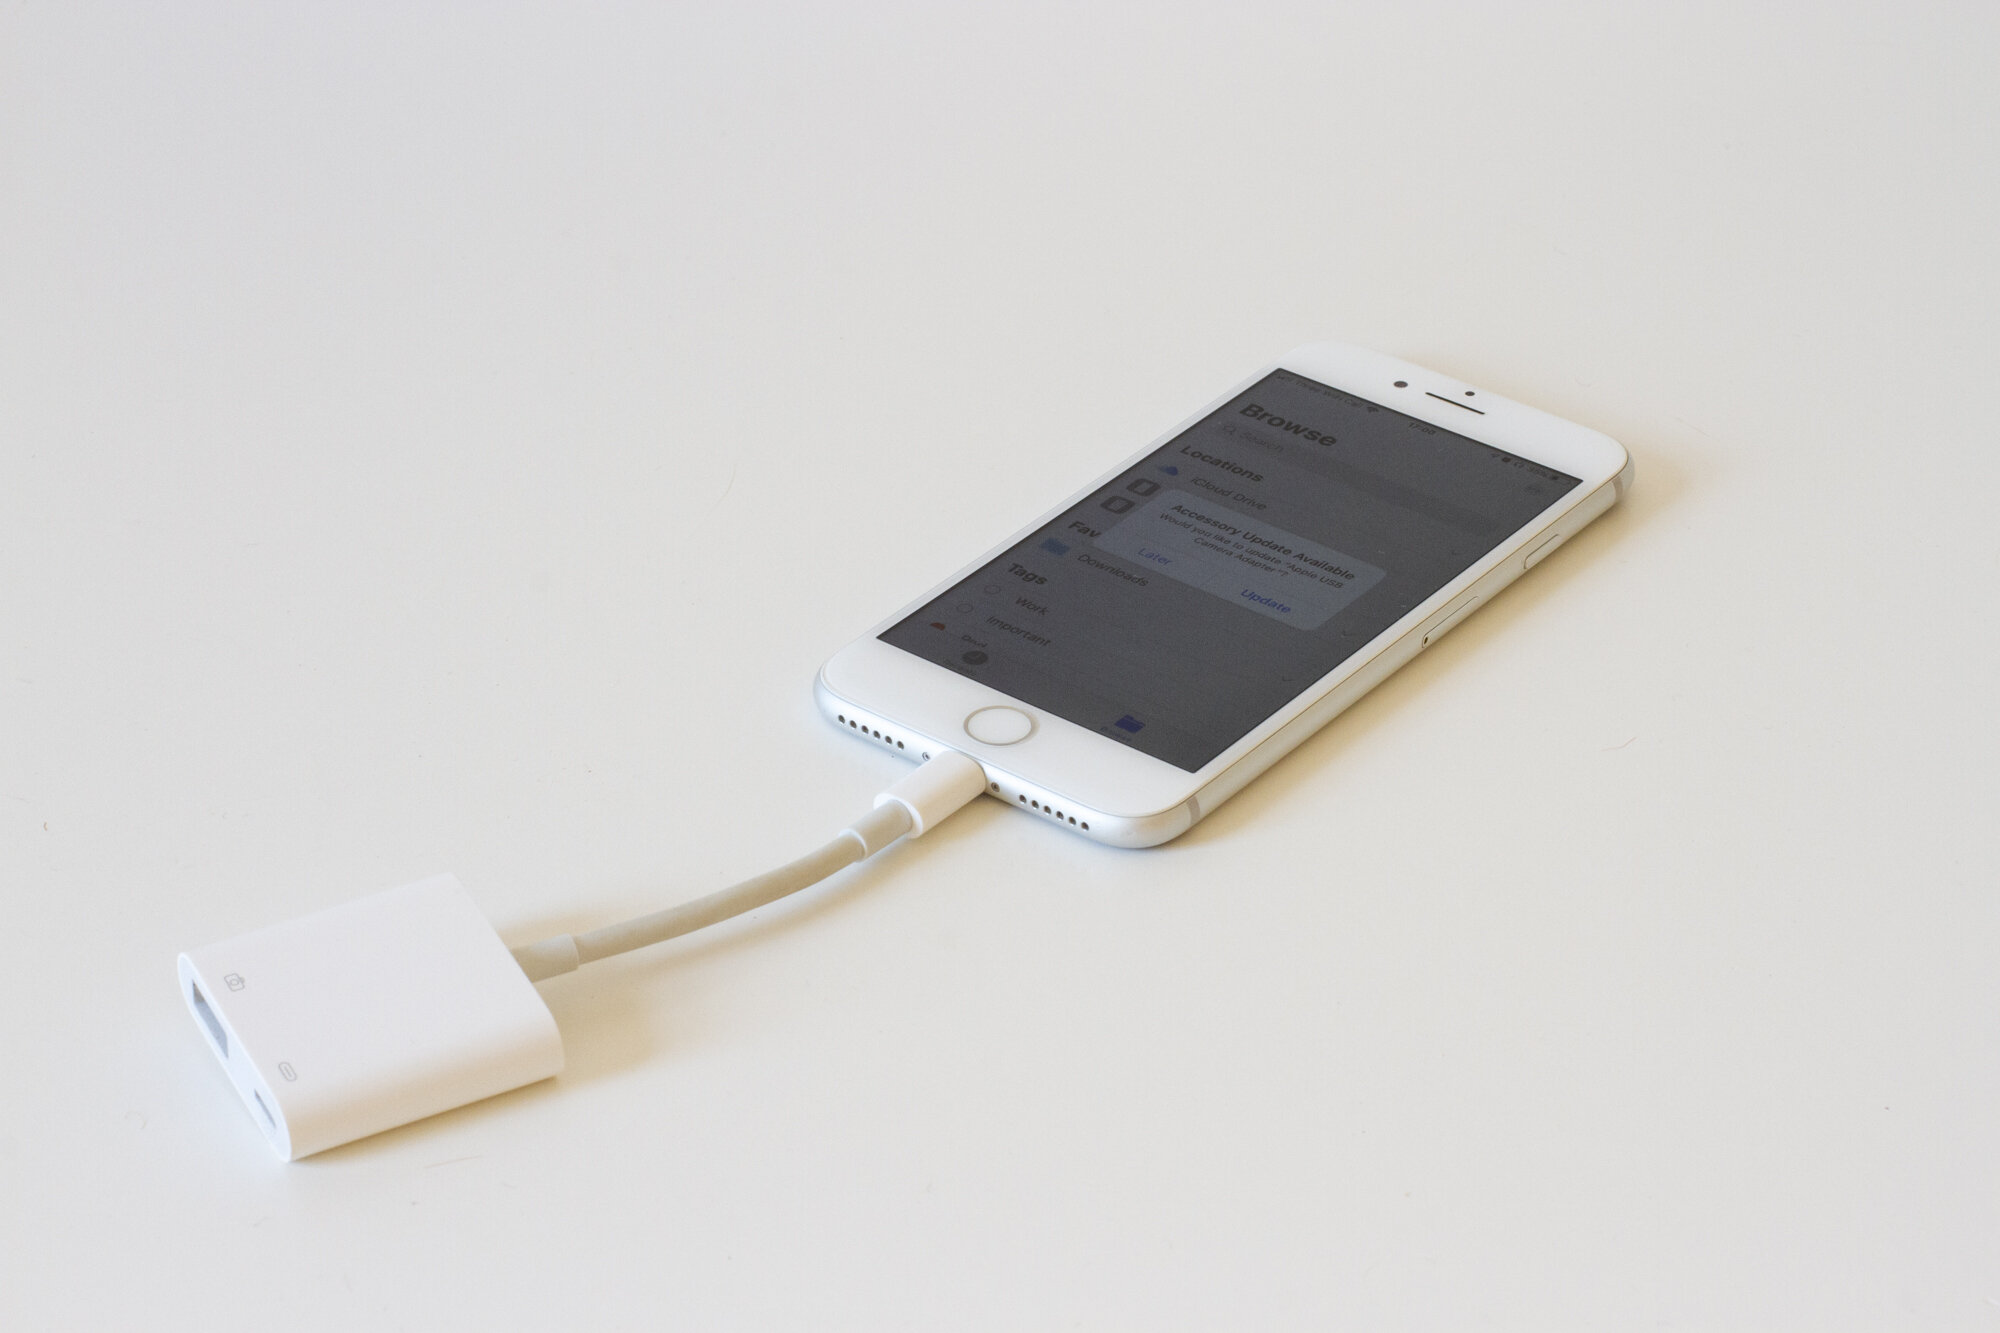

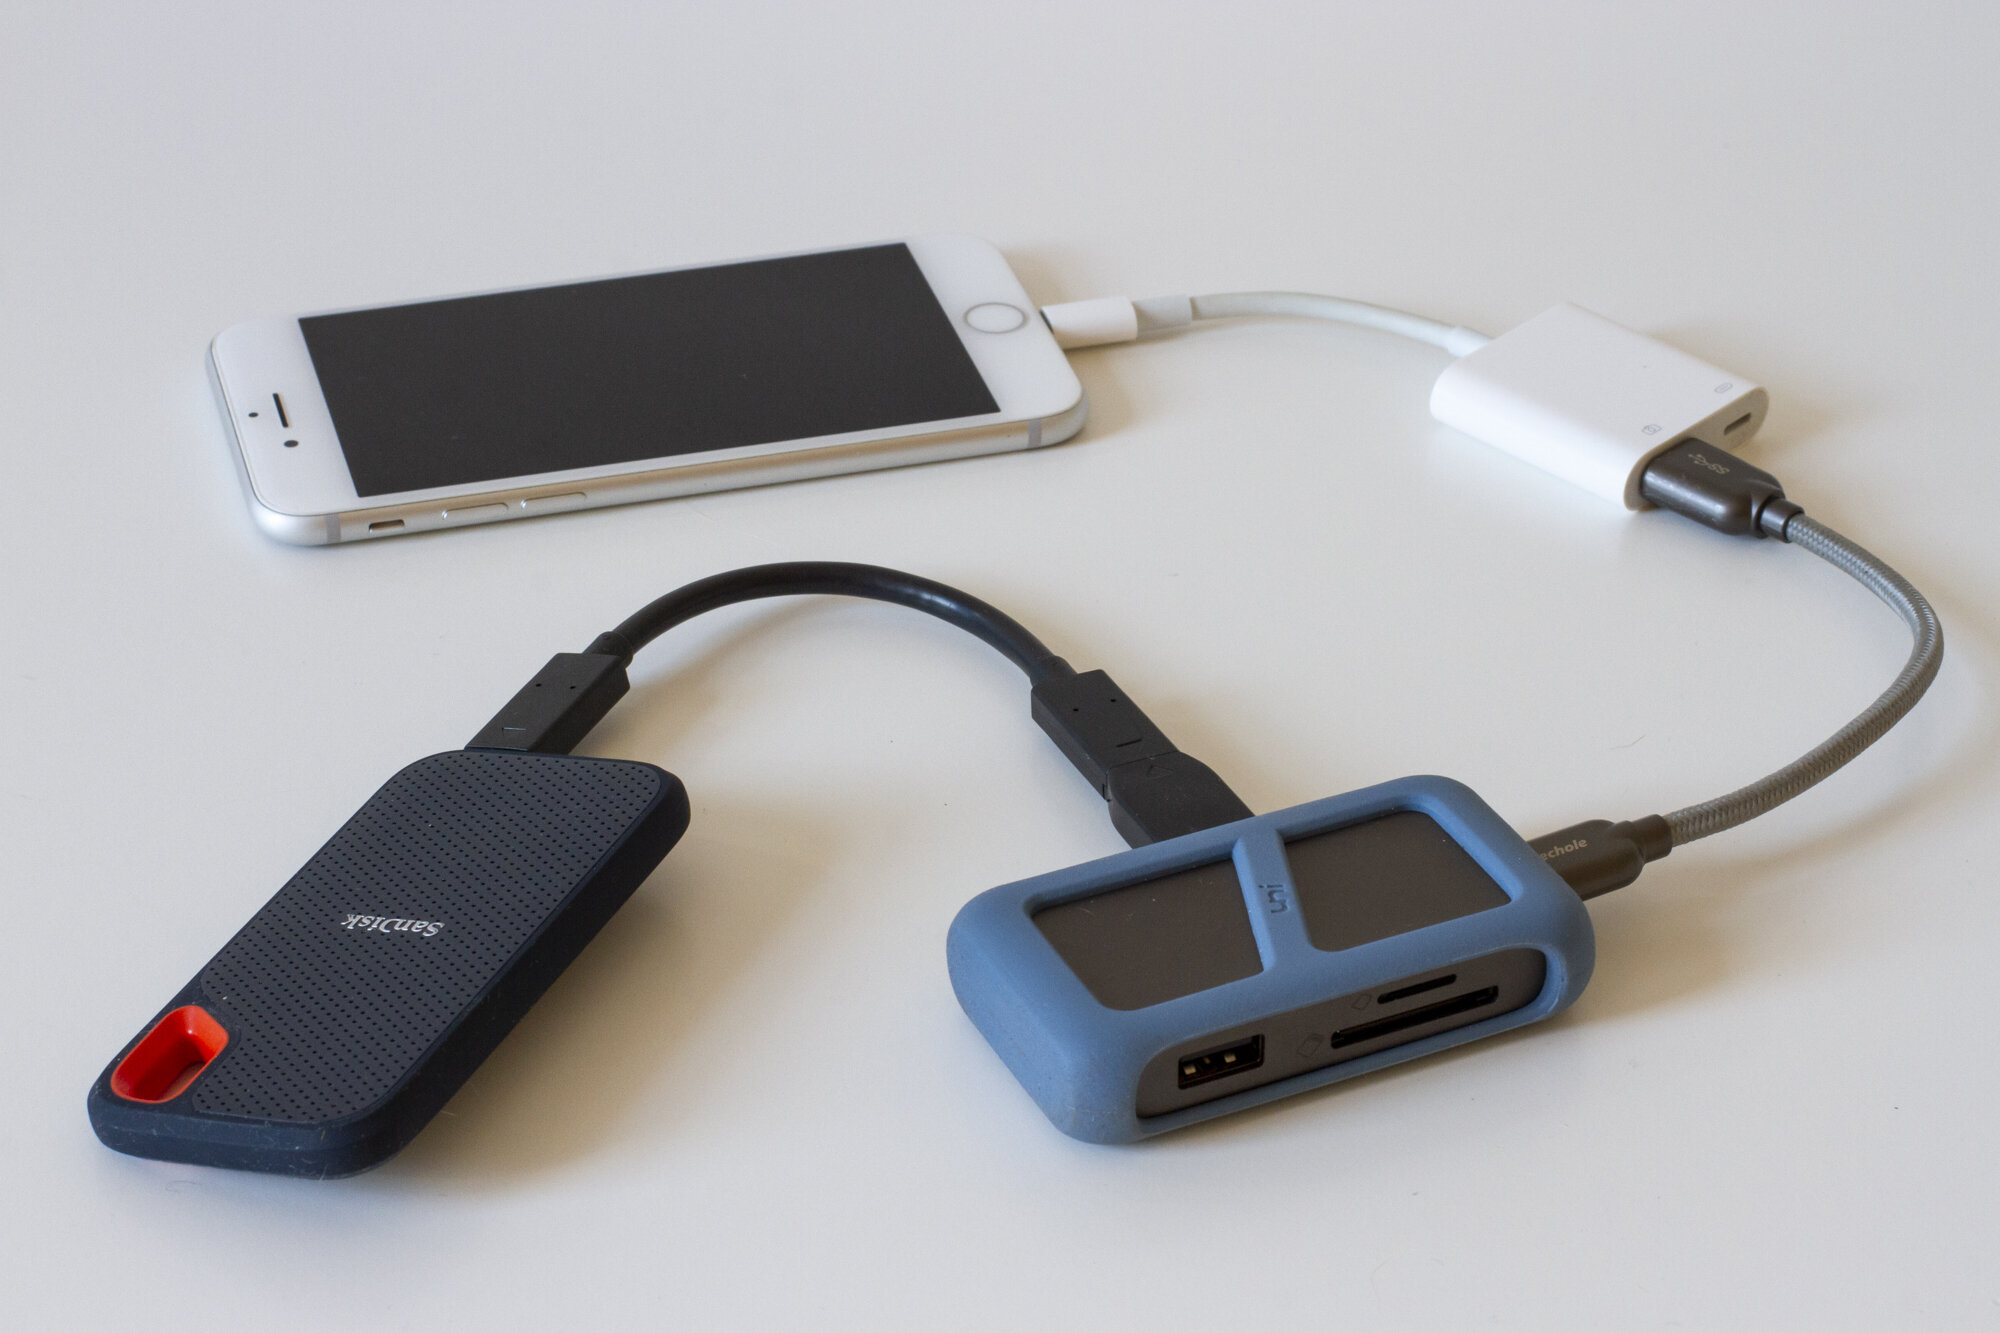
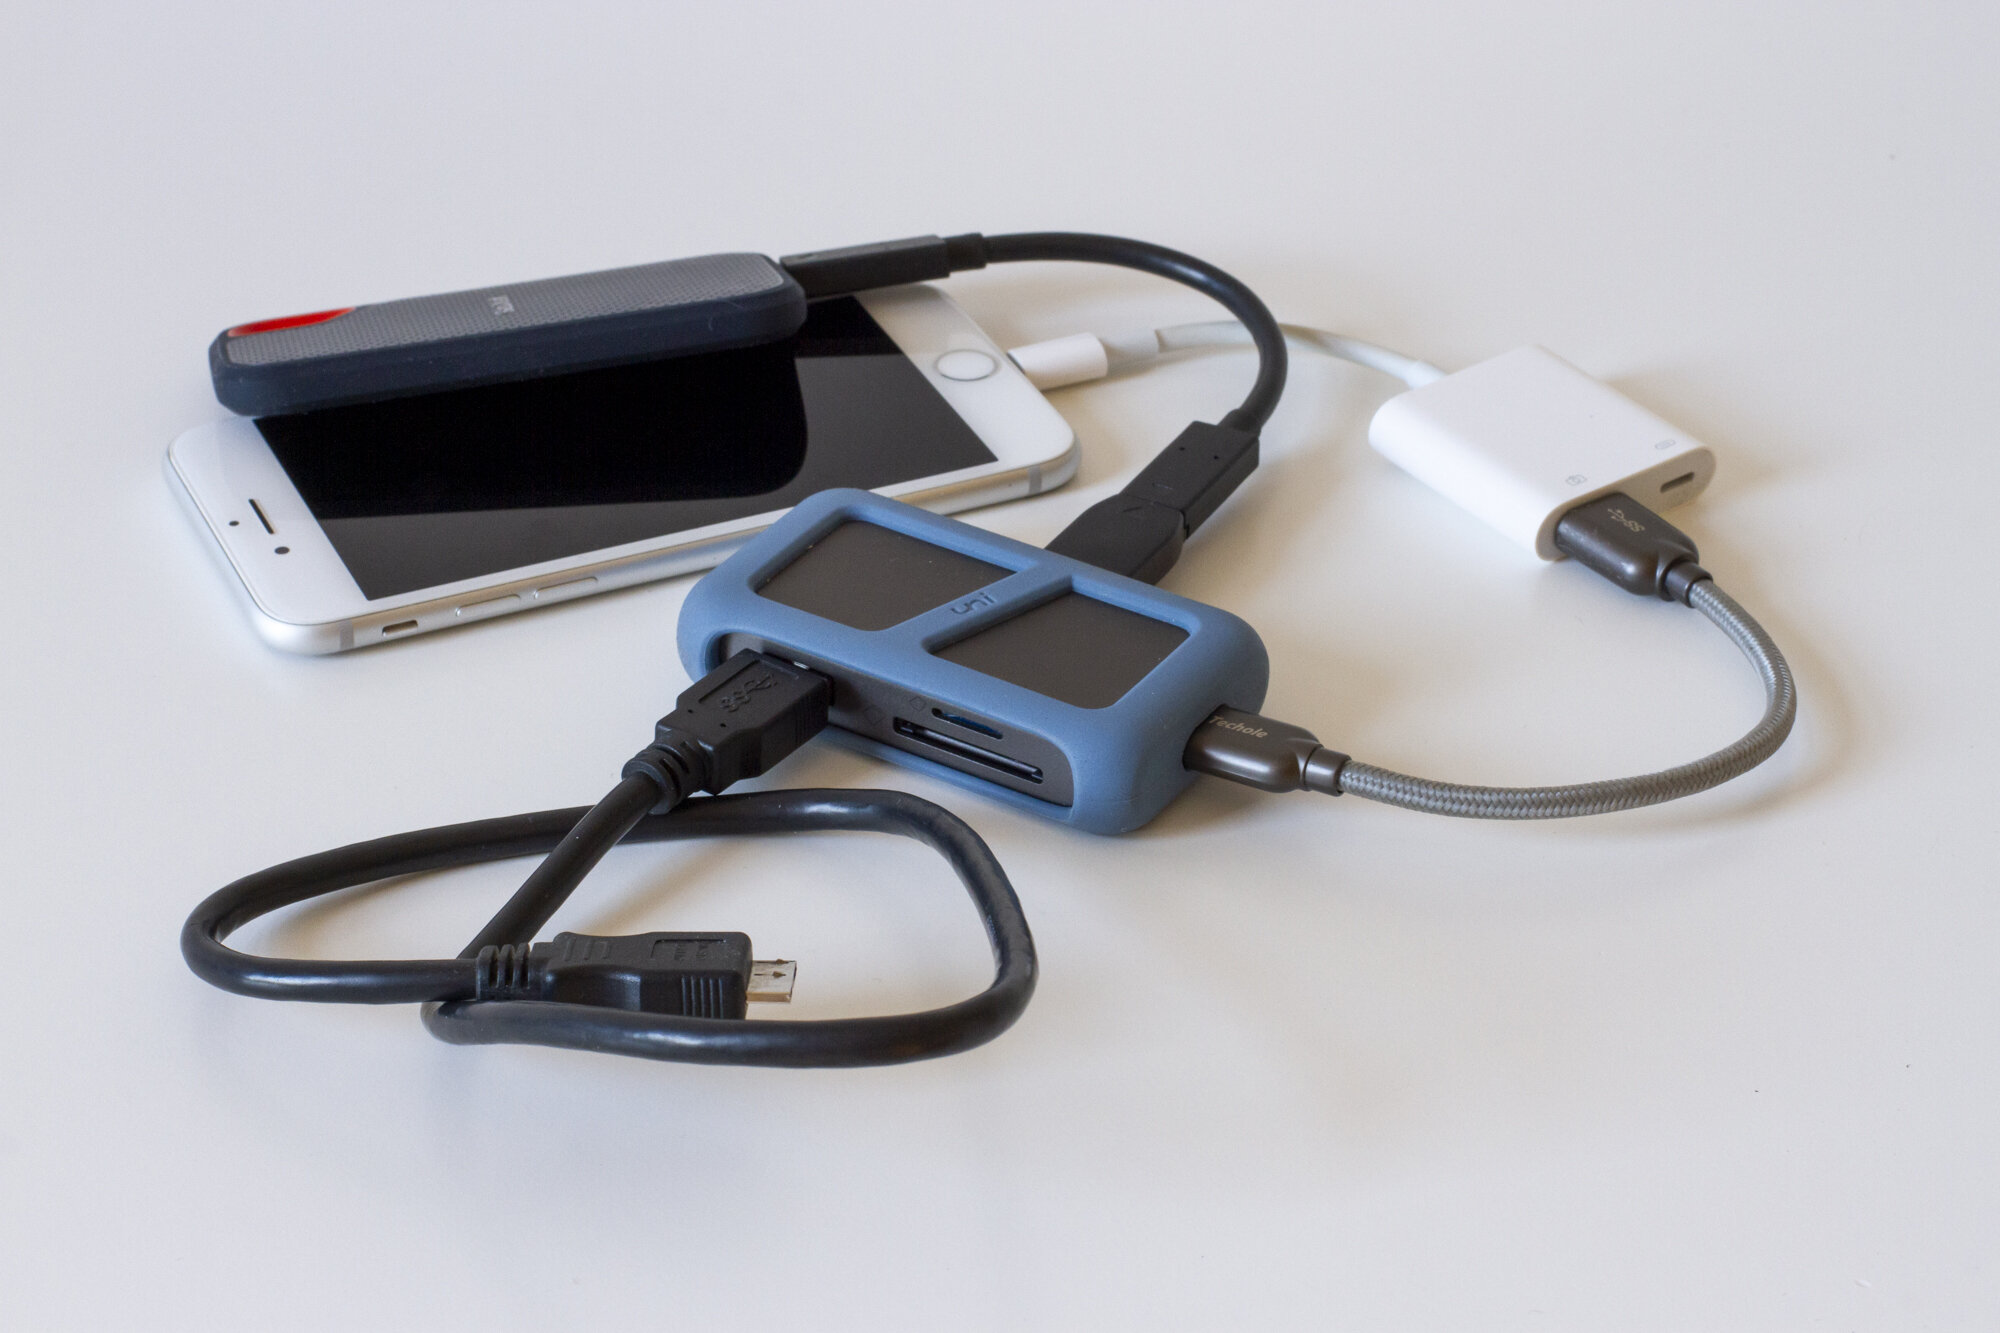
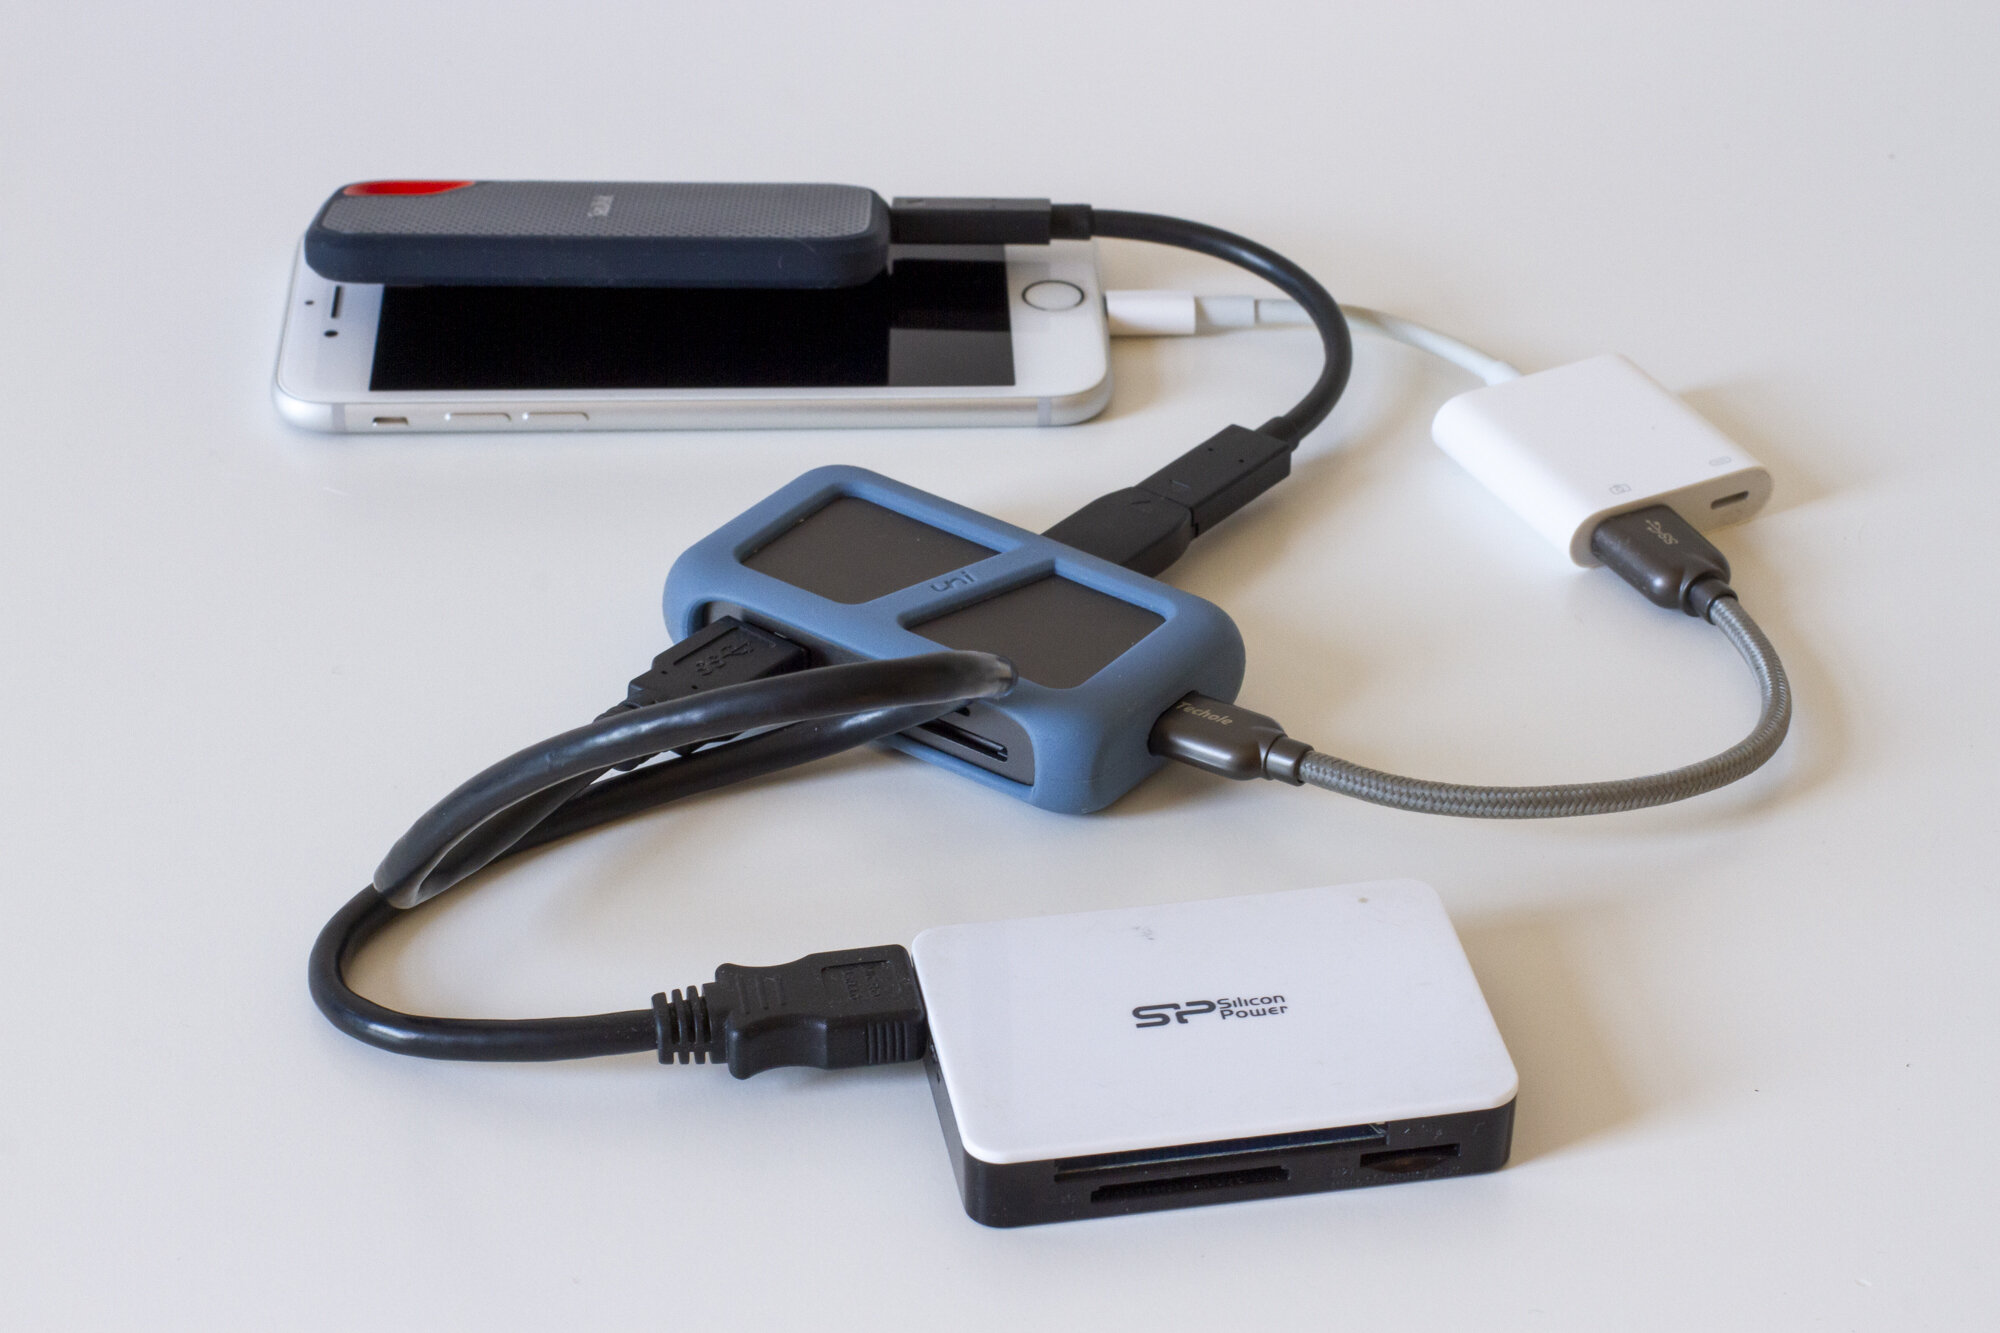
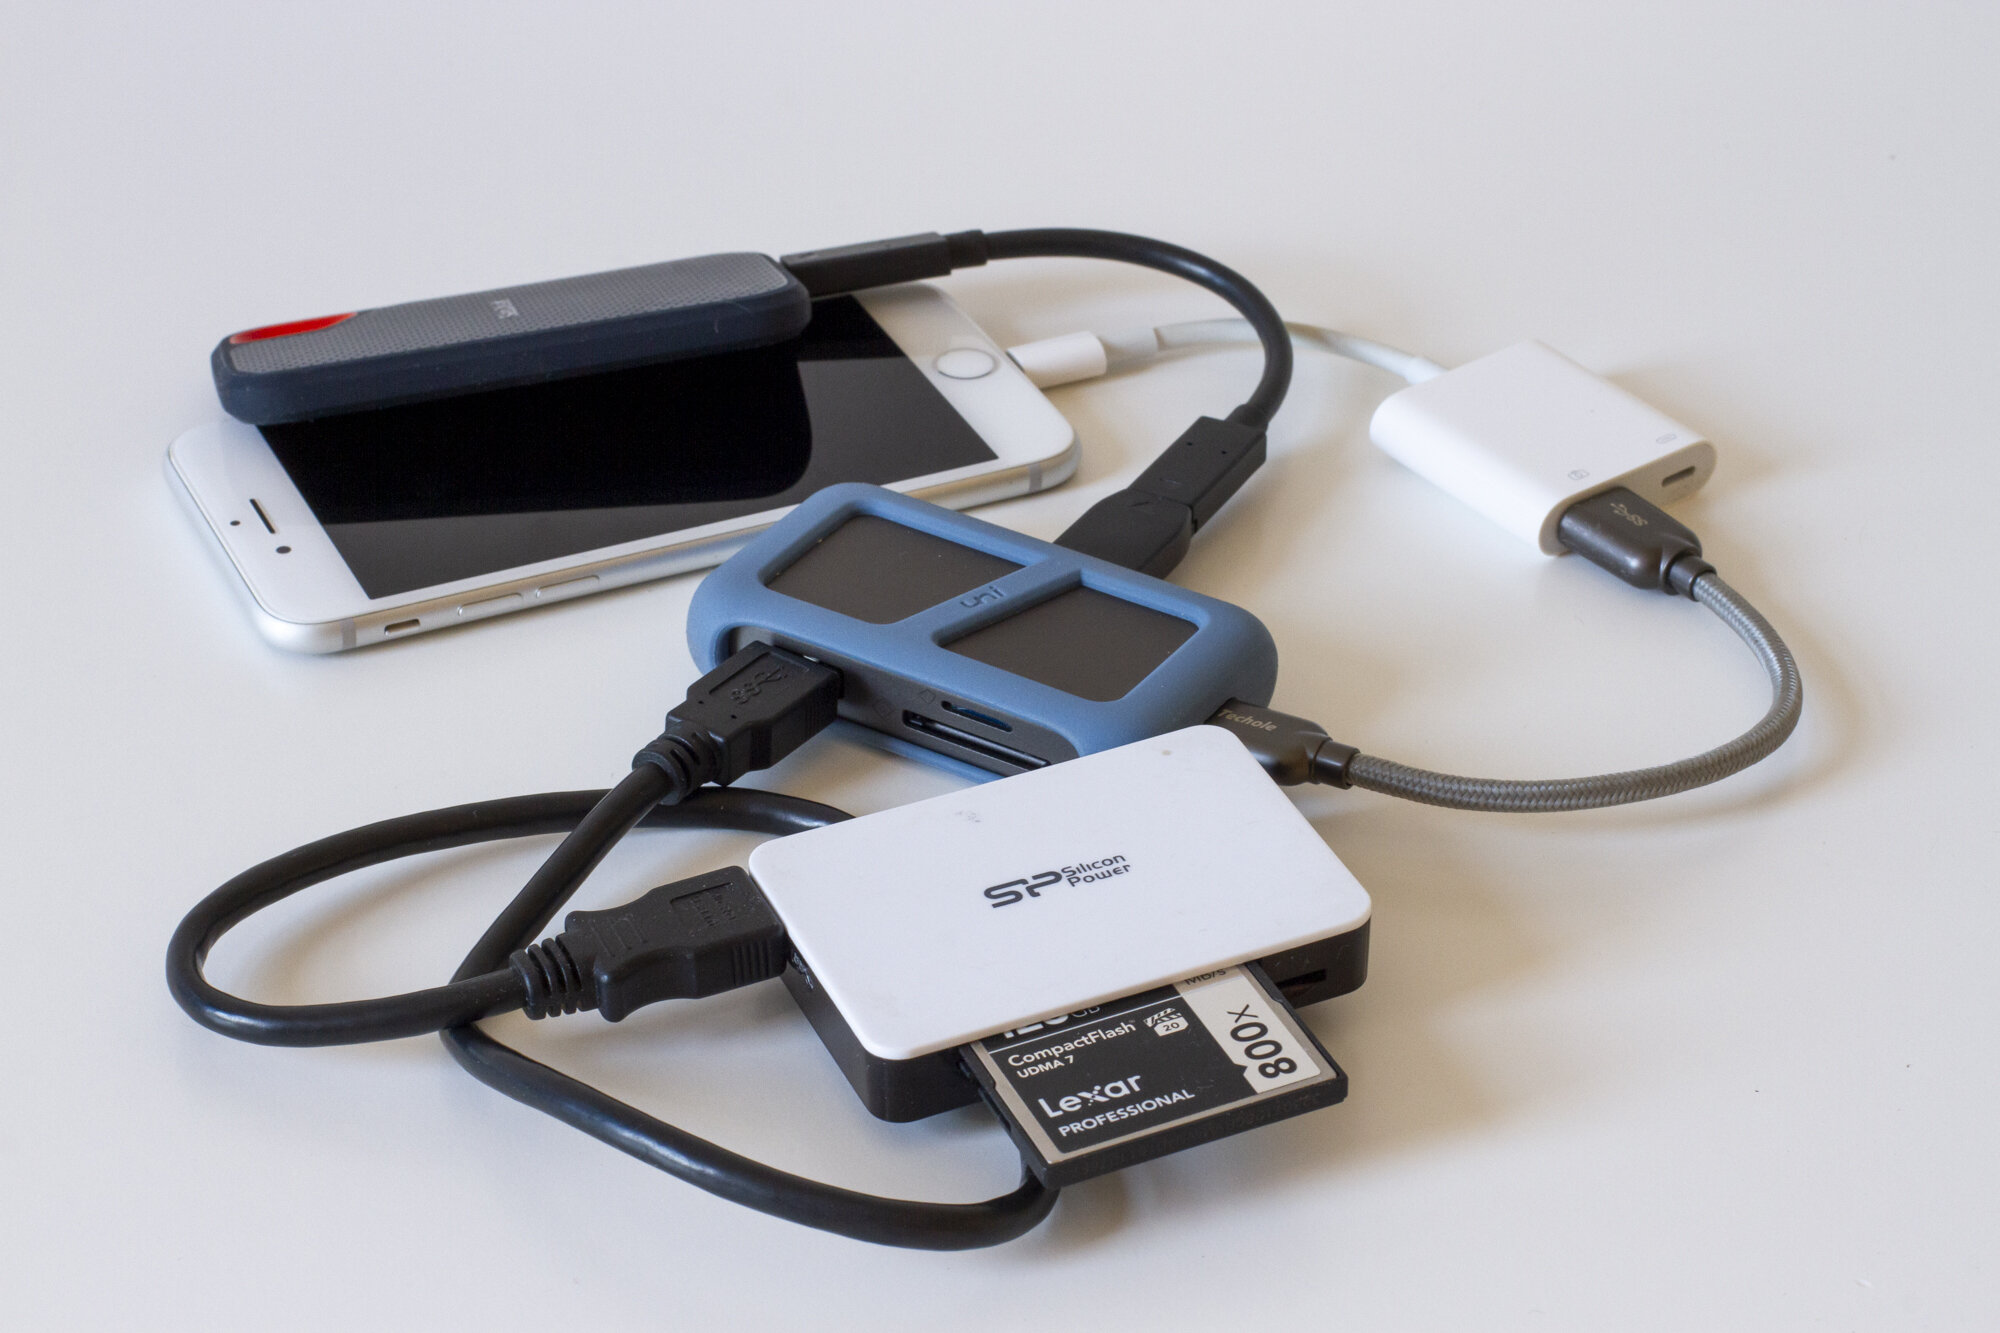
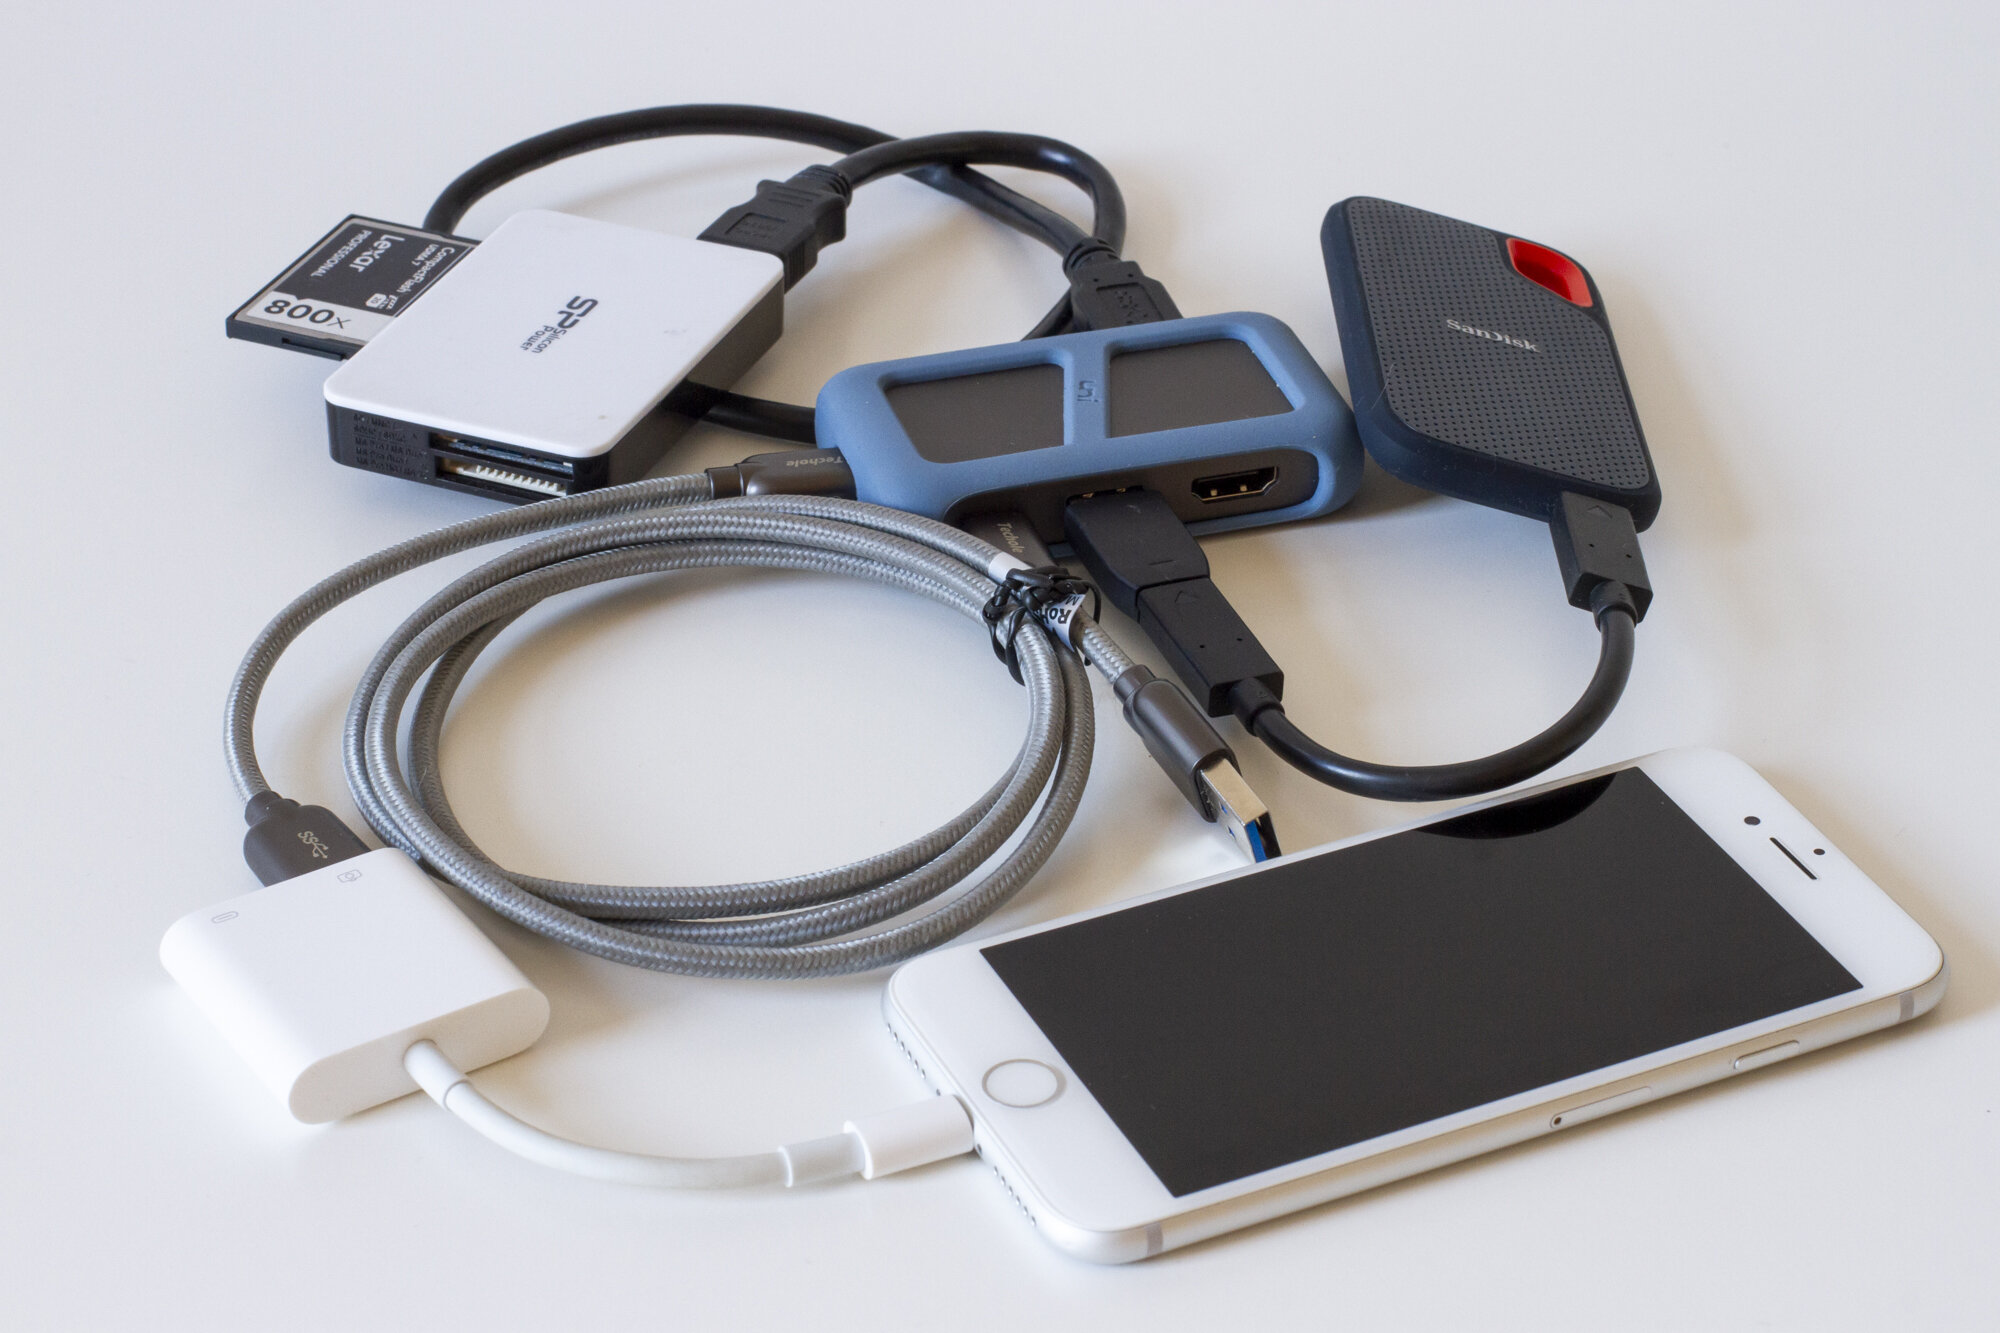
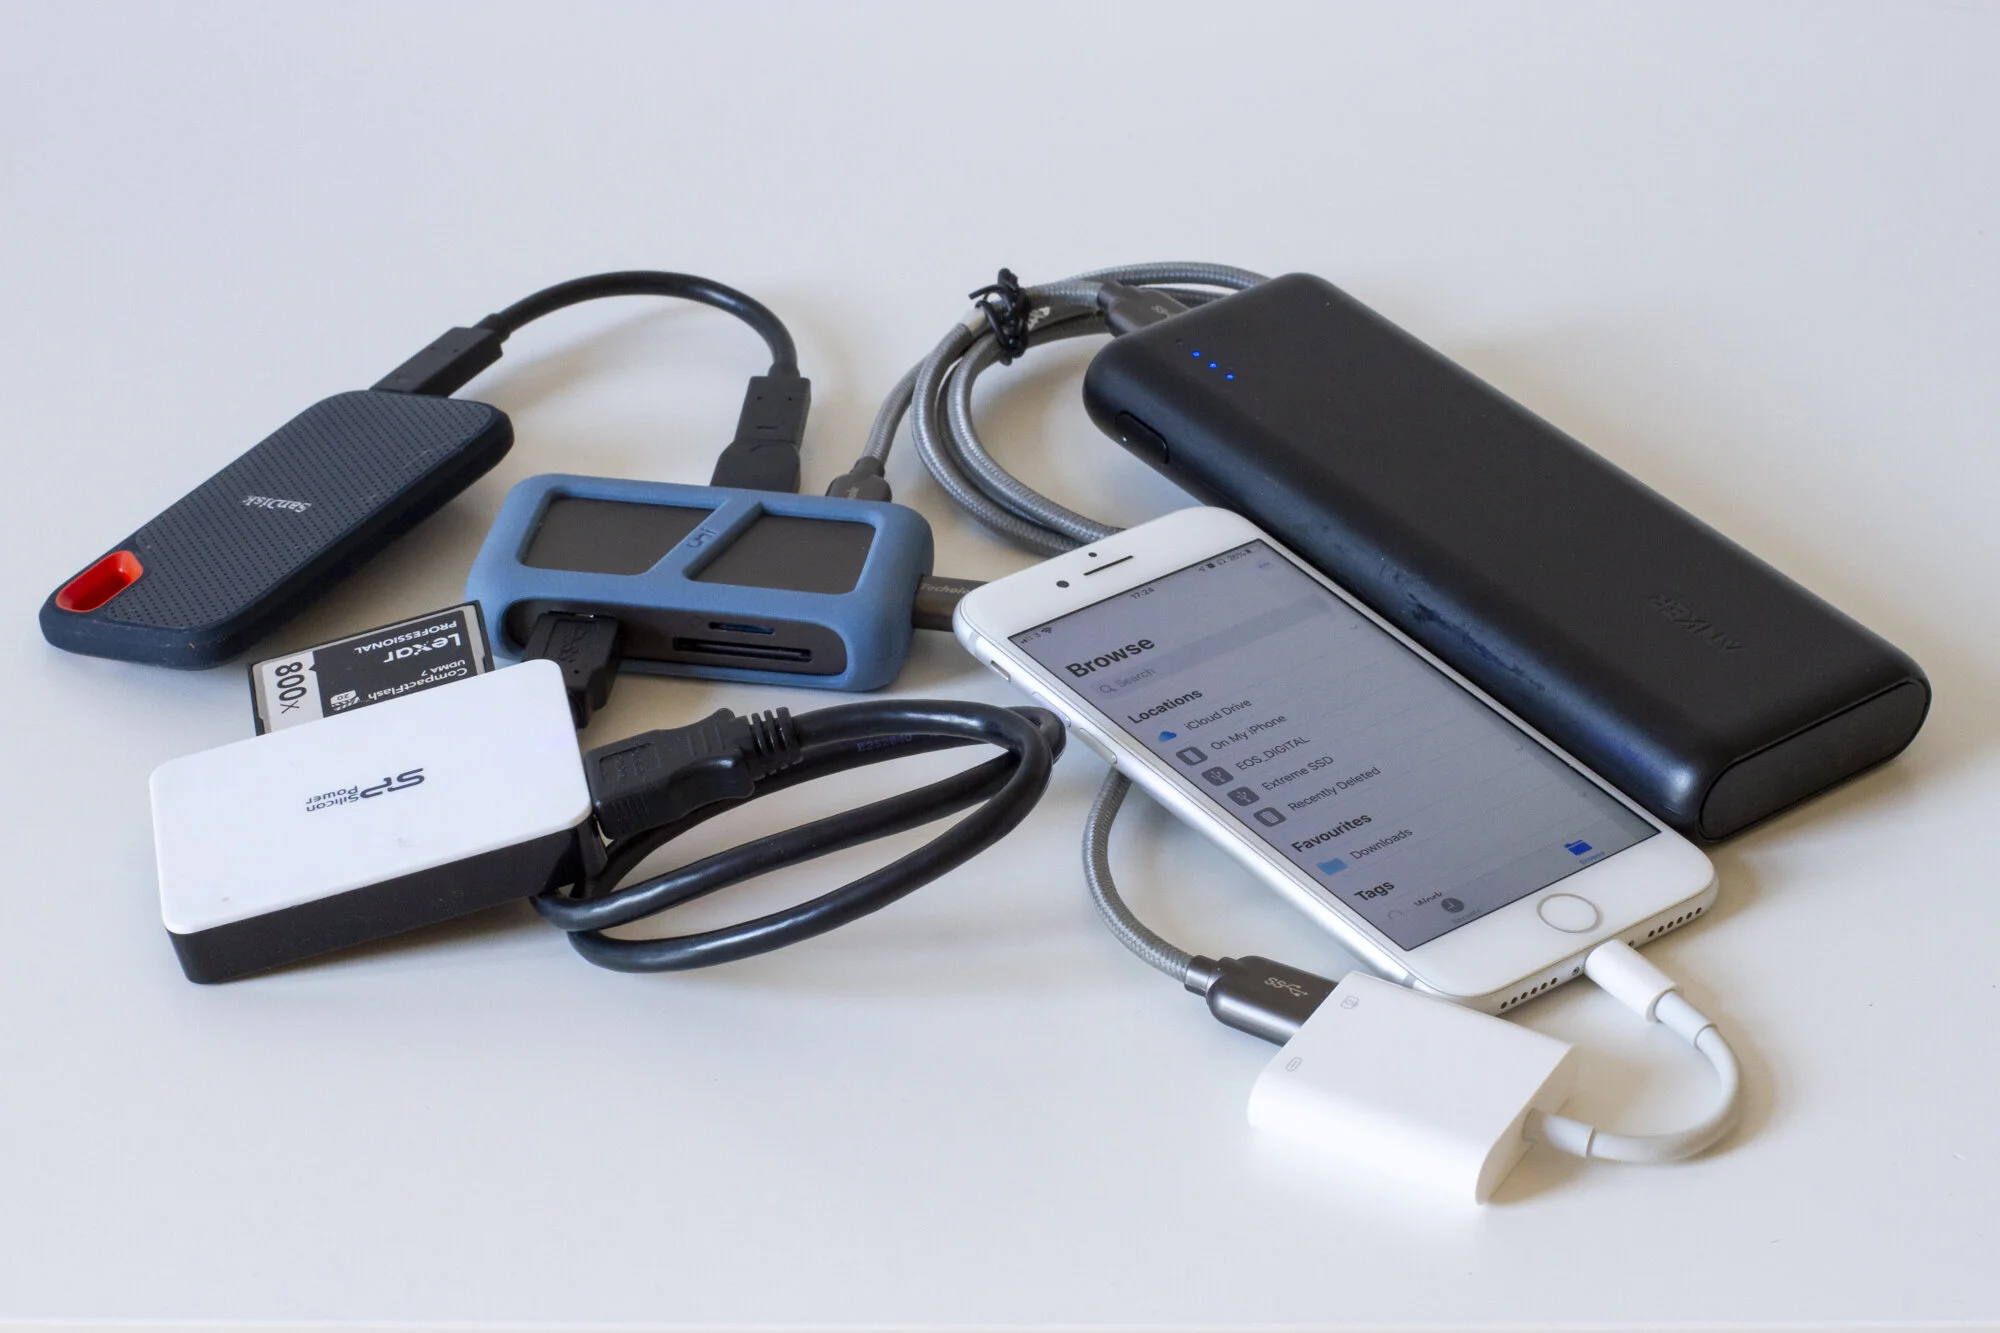
The order in which you connect the devices doesn’t matter much. I have an extra lightning port on my lightning to USB adapter, so I can connect it with the power bank to charge my phone while the photos are copied, but that’s not necessary. As soon as you connect everything and turn on the power bank, in your Files app you’ll see EOS_DIGITAL (or whatever name your camera uses) folder for CF card, and Extreme SSD folder for Sandisk. Go into your CF card folder, select recently made photos or the whole folder with photos, and move them to SSD. There is no safe ejection when you work with iPhone only, so when you are done, just physically disconnect CF card first, then SSD. Your photos will be fine :)
How speed up photo transfer
After using this device for a couple of days I discovered a problem: it took ages to open and copy the photos from my card. Files app constantly crushed or froze during these attempts. So I invented a solution: I started to organise my backup not only on the disk, but also on the memory card itself. In my Canon EOS 7D camera all the photos are stored in a single folder, named 100EOS7D or 101EOS7D. After a couple of days shooting, there were thousands of pictures in that folder, and it took all the time and phone capacity to process that amount. I could not delete them — remember, backup works only when there are at least two copies of your photos! So after each time I copied the photos to the SSD I created a new folder on the CF card itself, and moved all the pictures to that folder, leaving the default folder empty for the next day pictures. Actually, working with the phone only, it was easier to just rename the default folder with the name you use for backup, then create another folder named 100EOS7D, and then copy the backup folder to SSD.
It is more important than ever to keep the backup organised, because it takes some time and effort to browse through photos with iPhone, and you want to omit any unnecessary move. I copied the pictures almost every day, so I used ‘YYMMDD_place’ system of naming, where YY is year, MM is month, DD is the day when pictures were taken, and ‘place’ is a name of a town, camping, or whatever destination I travelled to this particular day. If I stayed somewhere for a few days, I would add more description to the name.
That’s it
Hope this post helps you to enjoy your travels and stress less about your camera and all the nice pictures you’ve shot on vacation!


HIKING

MOUNTAINS

PATAGONIA